New here? Follow these steps from start to finish — including joining a
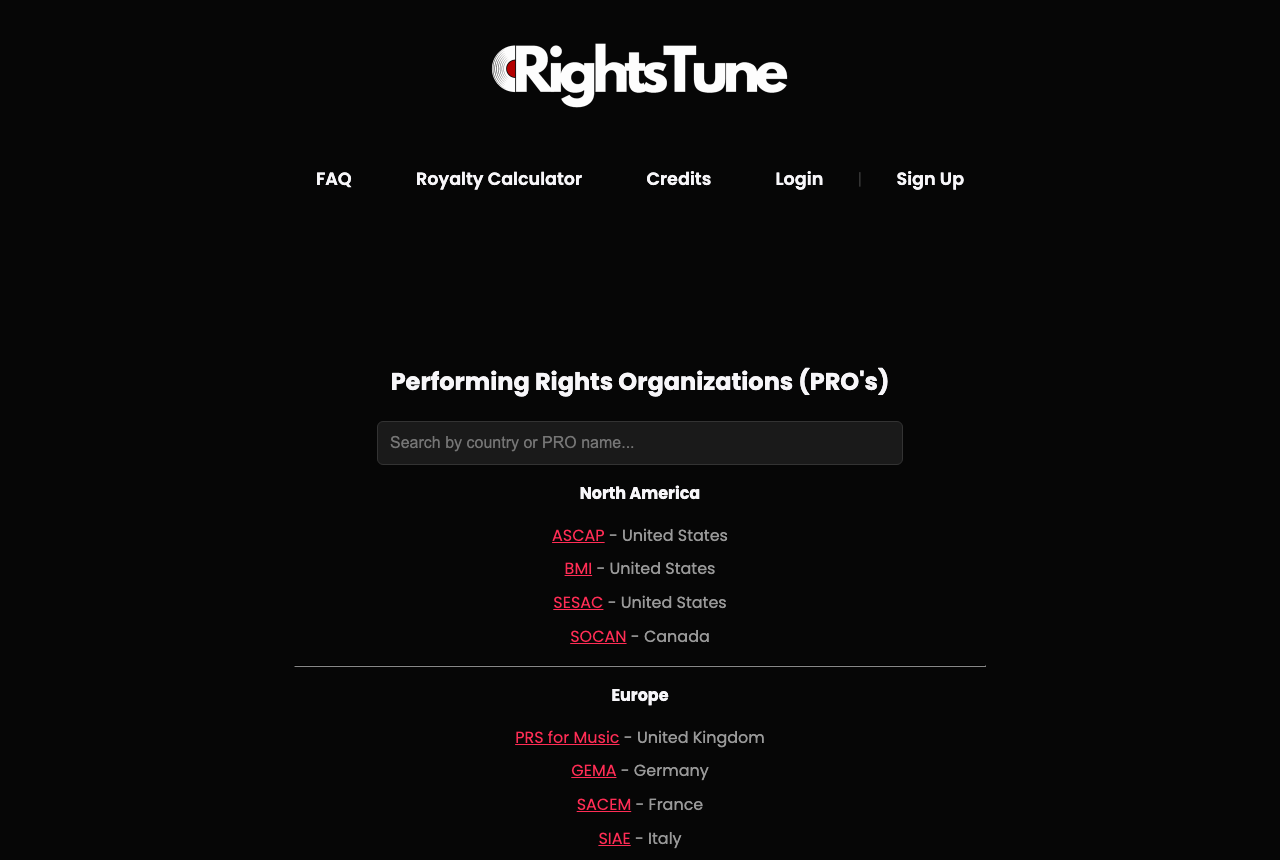
PRO (Performing Rights Organization), creating your account,
verifying your identity, and finishing portal onboarding.
Rightstune works best when you’re already registered with a
Performing Rights Organization (PRO) as a writer
(for example BMI, ASCAP, or SESAC in the US). Your PRO assigns an
IPI / CAE number that societies use to identify you.
You have music on streaming platforms (or it’s about to be released).
You’re registered with a PRO in your territory as a writer.
You want help collecting publishing royalties worldwide.
Find your territory’s PRO on the Rightstune PRO directory.Step 2
Create your Rightstune account
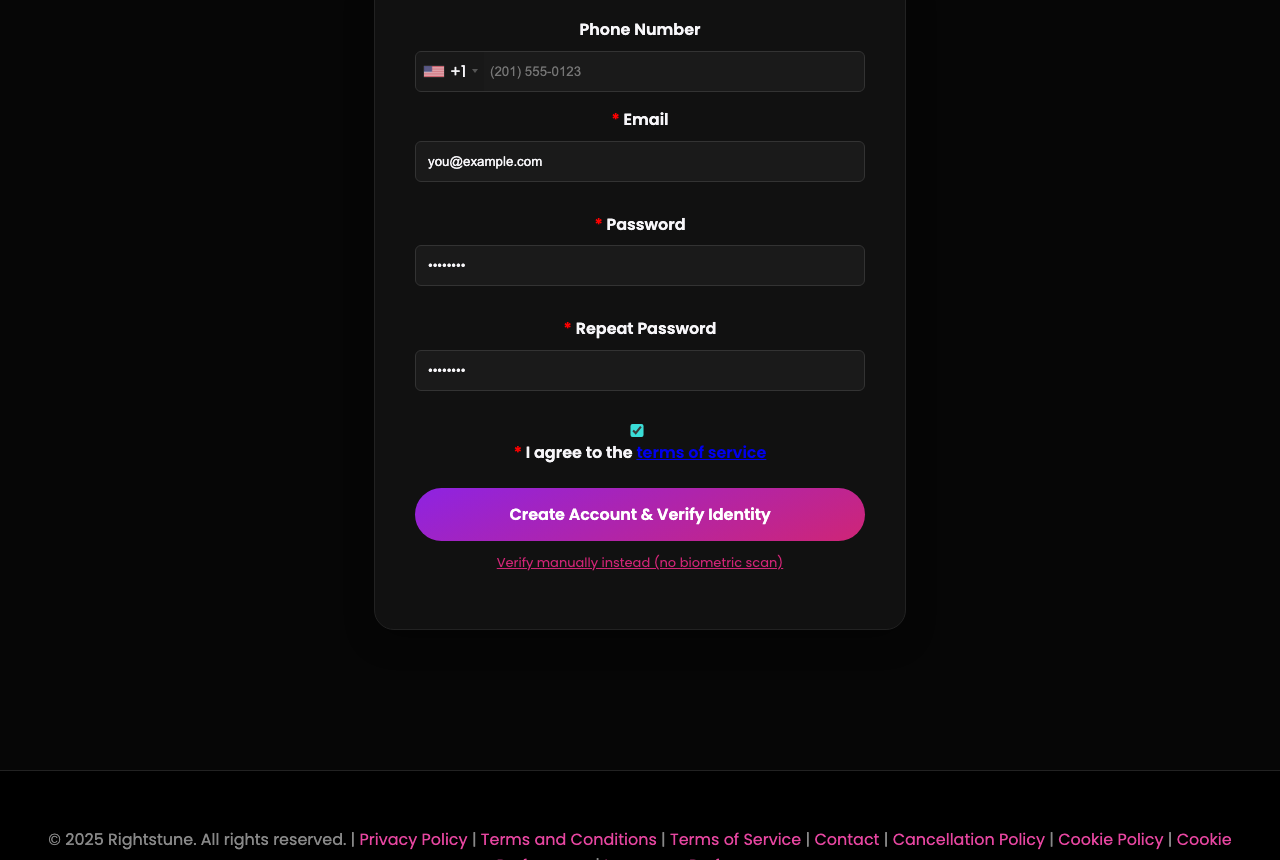
Go to Sign Up. Enter your phone number (optional),
email, and password, then accept the Terms of Service and submit.
Fill in the signup form and agree to the Terms of Service.Step 3
Verify your identity
After signup you’ll complete identity verification (usually with Stripe Identity).
Have a government-issued photo ID ready. Most people finish in a few minutes.
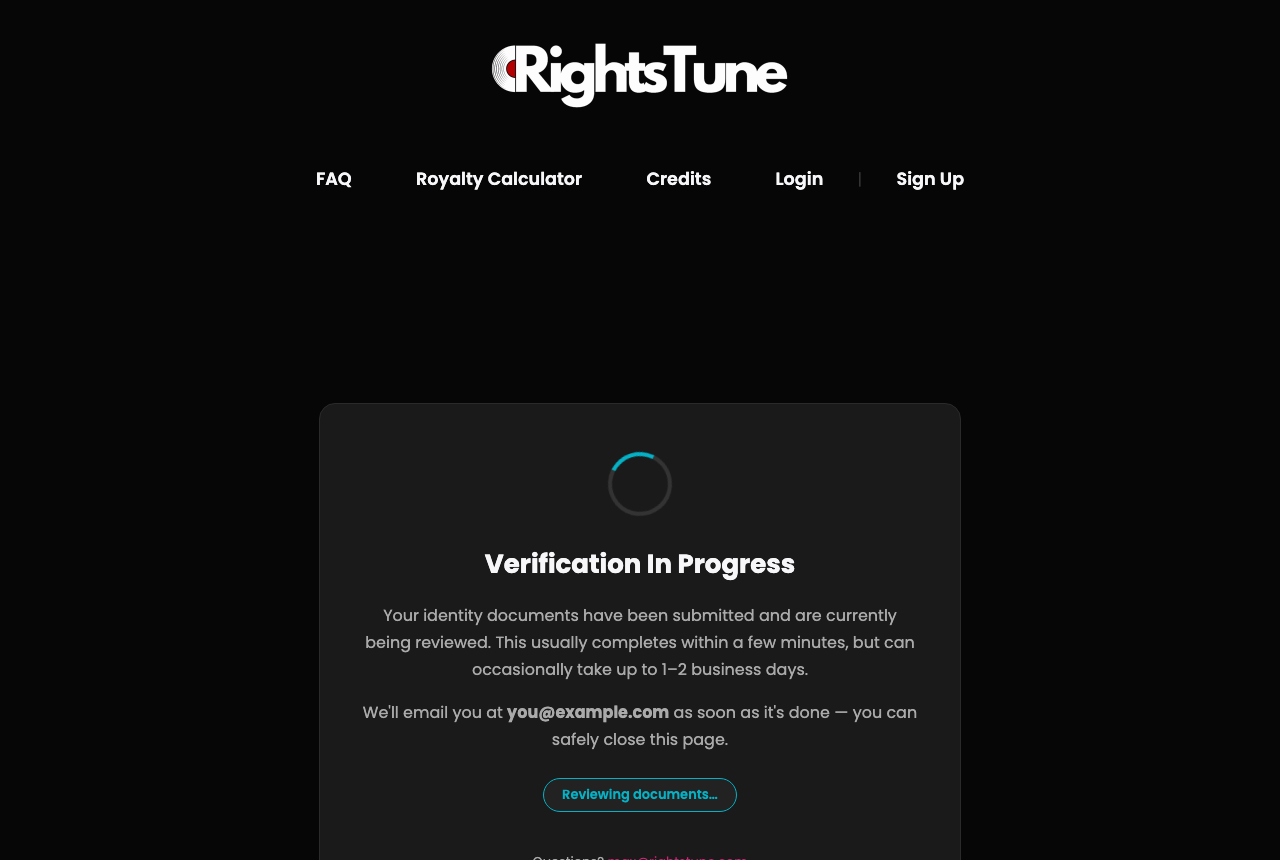
If verification is still reviewing: you’ll see a
“Verification In Progress” screen. Keep an eye on your email — we’ll notify you
when you’re ready to continue. There’s also a manual verification option if
automatic verification isn’t available.
While documents are reviewed, you’ll see this status screen.Step 4
Welcome into the client portal
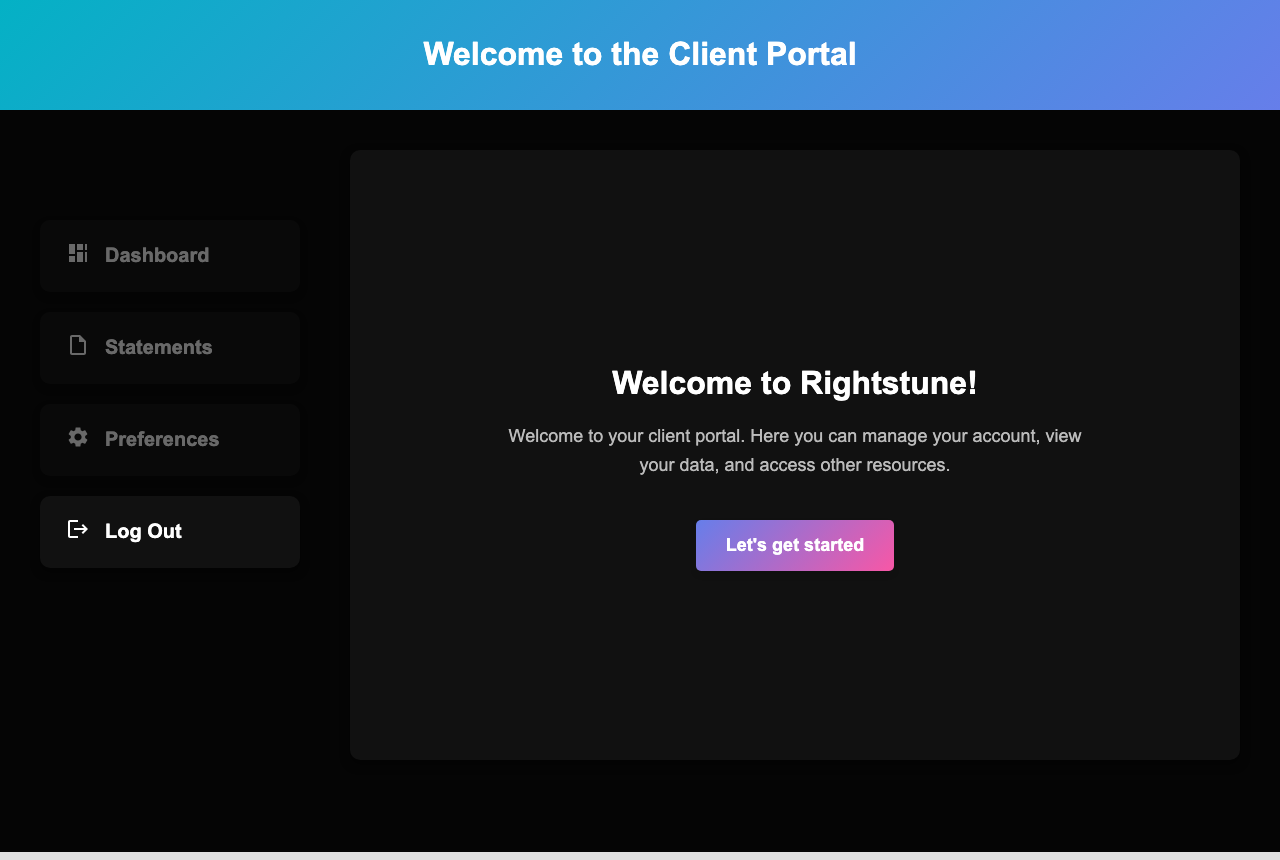
Once verified, sign in and you’ll land on the welcome page. Click
Let’s get started to begin onboarding.
Click “Let’s get started” to open the onboarding steps.Step 5
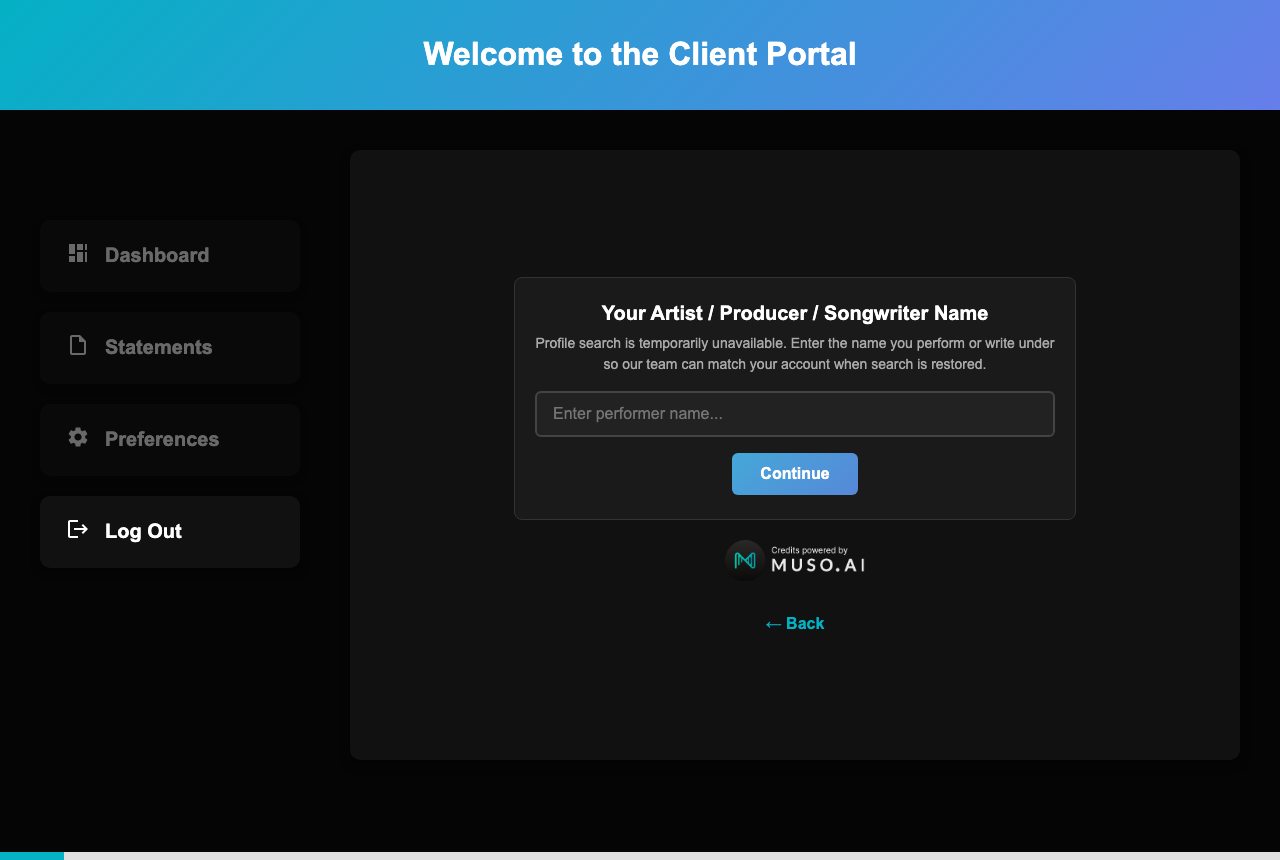
Add your artist / writer name
Enter the name you perform or write under so our team can match your credits.
When Muso search is available, you can search and select a profile instead —
either way you can continue and refine this later.
Enter your performer / writer name and continue.Step 6
Add your PRO and IPI number
You’ll be asked: Are you registered with a PRO?
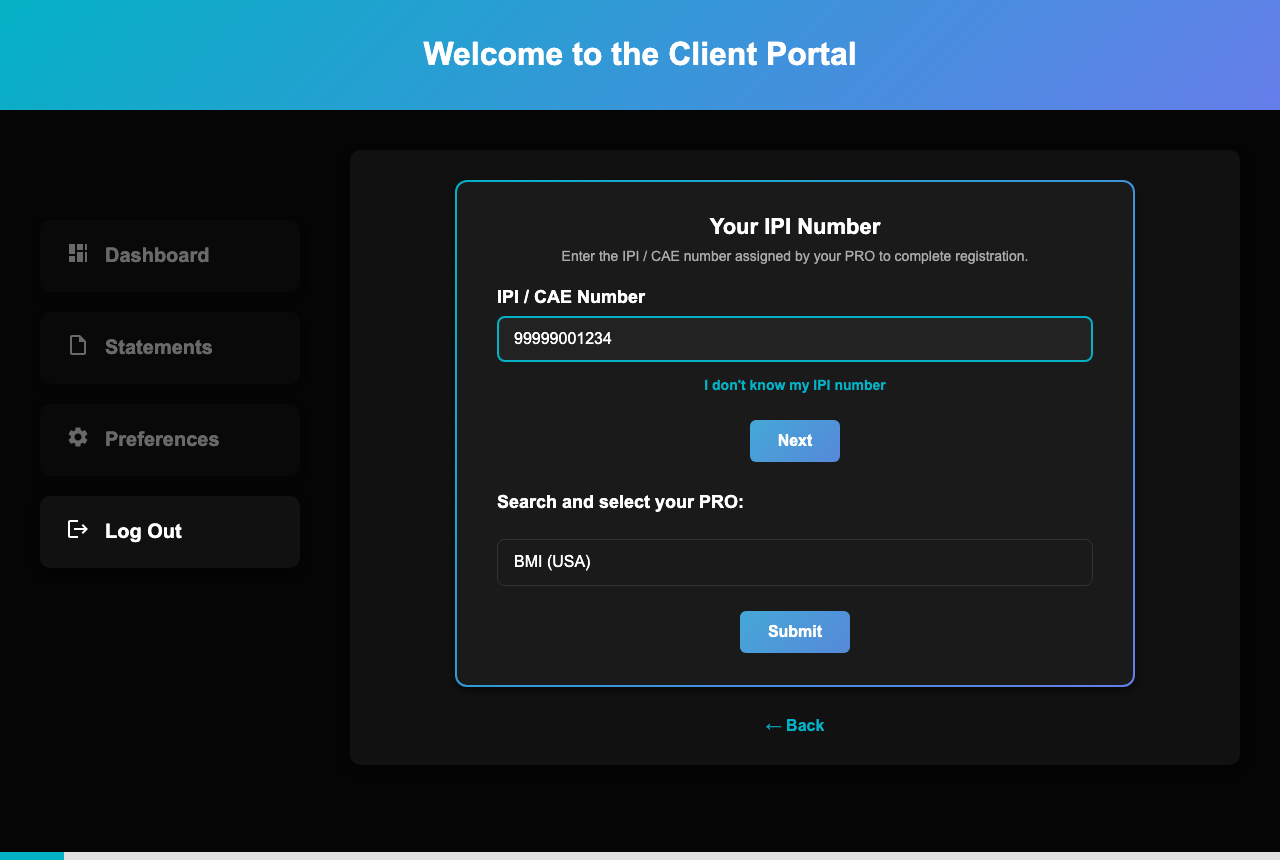
If you already have an IPI: choose Yes,
enter your IPI / CAE number, then search for and select your PRO. Submit to continue.
Enter your IPI / CAE number, then select your PRO.
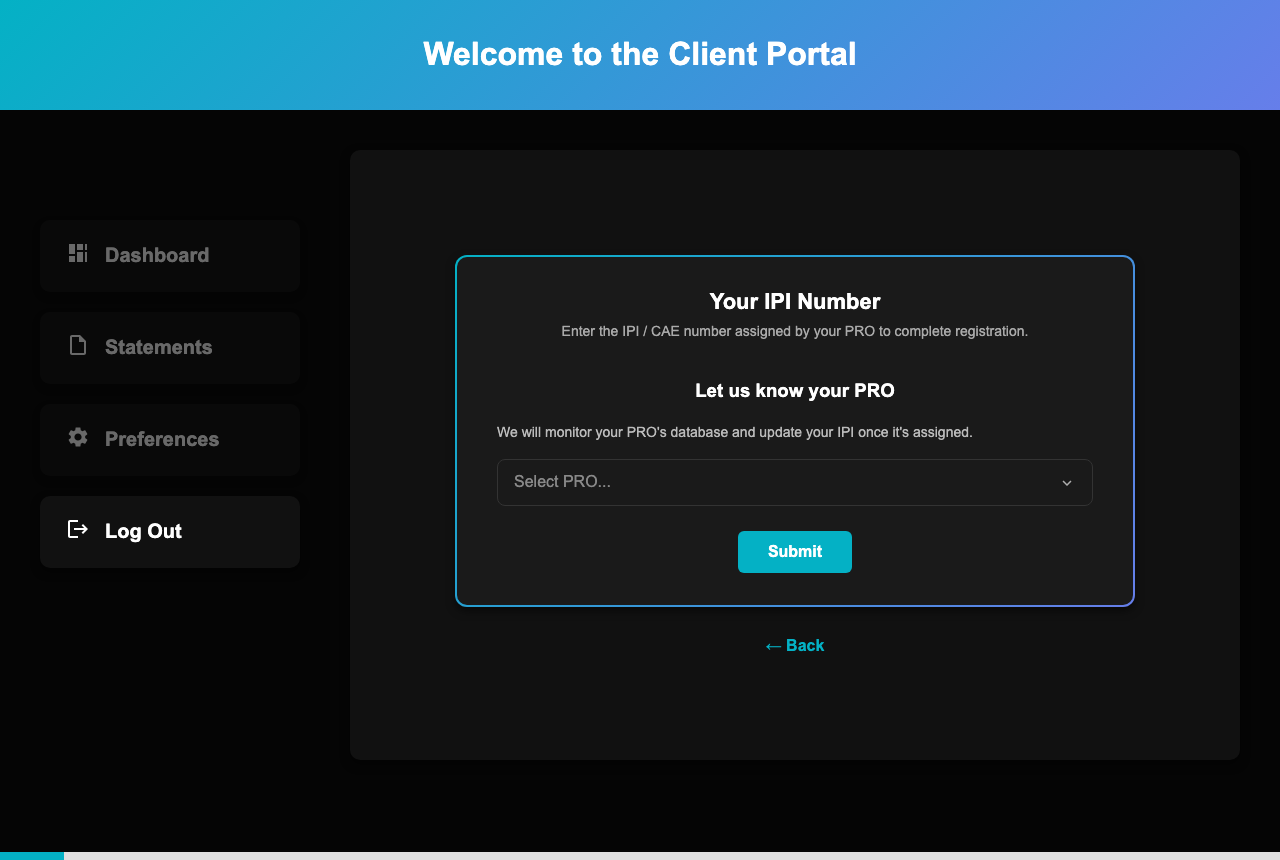
Don’t have an IPI yet? Choose the help option for
“I haven’t been assigned an IPI,” tell us which PRO you joined, and continue.
You can add your IPI later in Preferences. Track registration stays limited
until an IPI and Letter of Direction are in place.
No IPI yet? Tell us your PRO and we’ll continue onboarding.
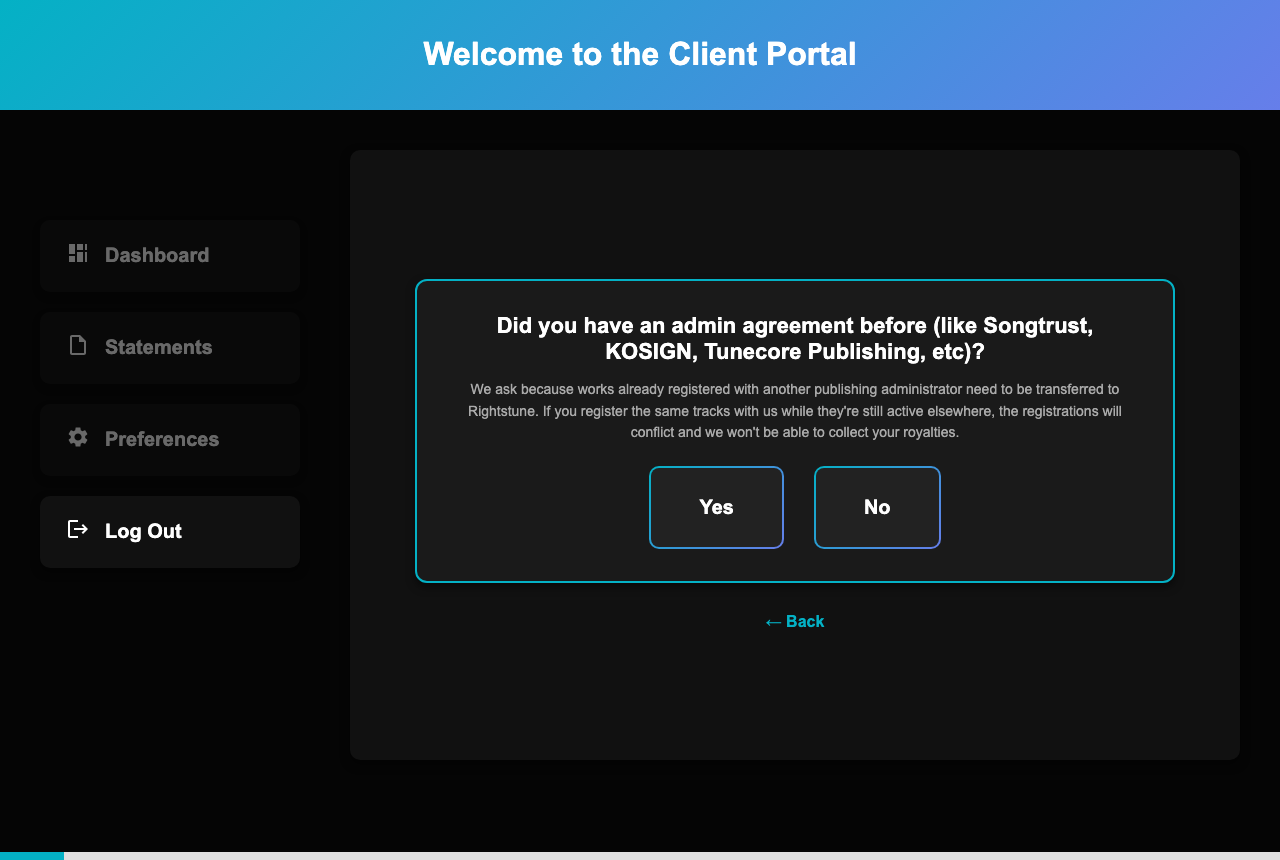
We’ll ask if you previously had a publishing administrator
(for example Songtrust, TuneCore Publishing, or similar).
Yes: upload a Letter of Termination / relinquishment if you have one
(you can skip the upload for now, but you’ll need it before we can collect on
works still registered elsewhere). No: continue to the next step.
Answer whether you had a previous publishing administrator.Step 8
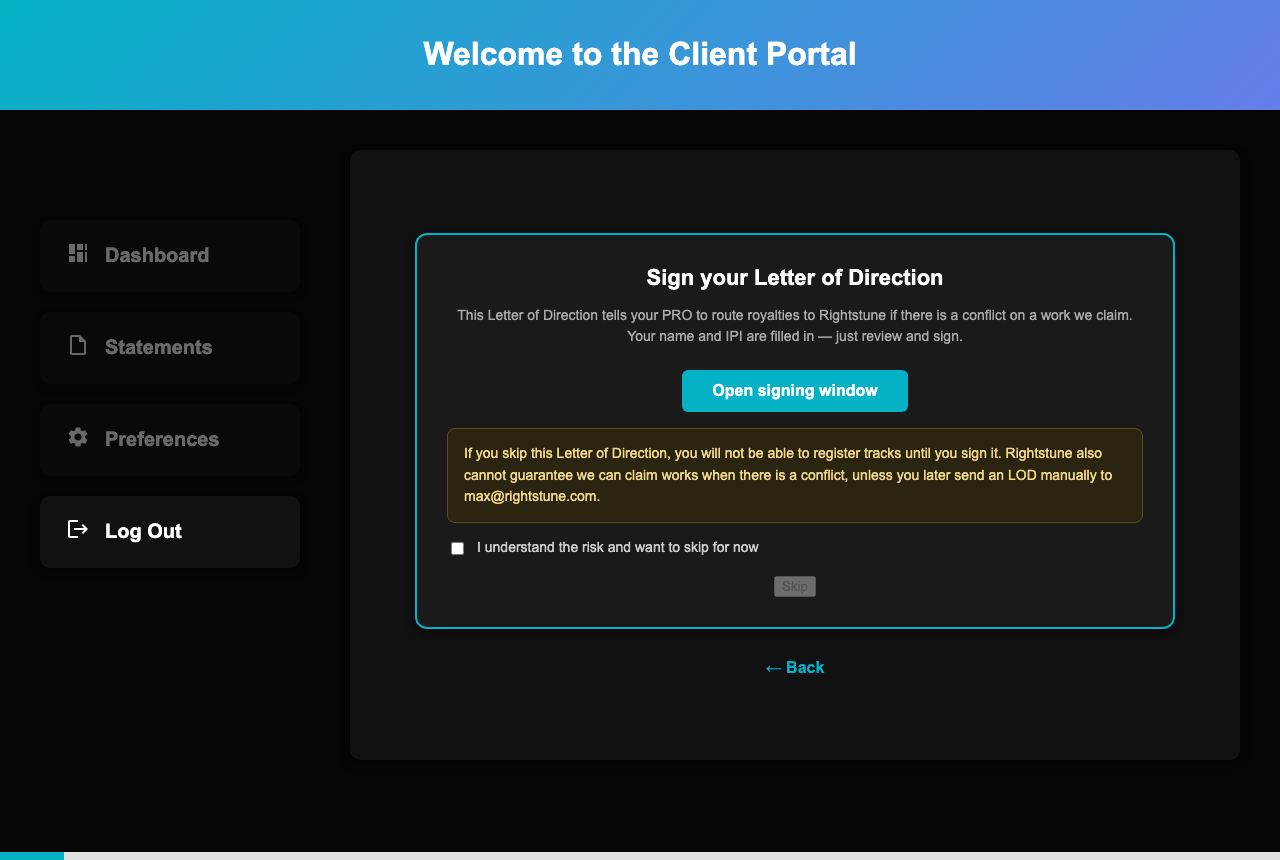
Sign your Letter of Direction
If you have an IPI on file, you’ll be asked to sign a
Letter of Direction (LOD). This tells your PRO to route
royalties to Rightstune when there’s a conflict on a work we claim.
Your name and IPI are filled in — review and sign in the signing window.
Important: you can skip the LOD, but you won’t be able to
fully register tracks until it’s signed. Don’t skip unless you plan to come
back soon.
Open the signing window and complete your Letter of Direction.Step 9
Choose your societies
Next you can choose which collection societies Rightstune should register
your songs with. Each option shows a short description of what it covers
(for example IMPEL for global digital royalties outside the US and Canada).
All societies are selected by default — you can leave them as-is, turn some
off, or skip to keep the defaults. You can change this later in Preferences.
Tip: if you’re unsure, choose
Skip — use defaults. That opts you into every supported society.
Step 10
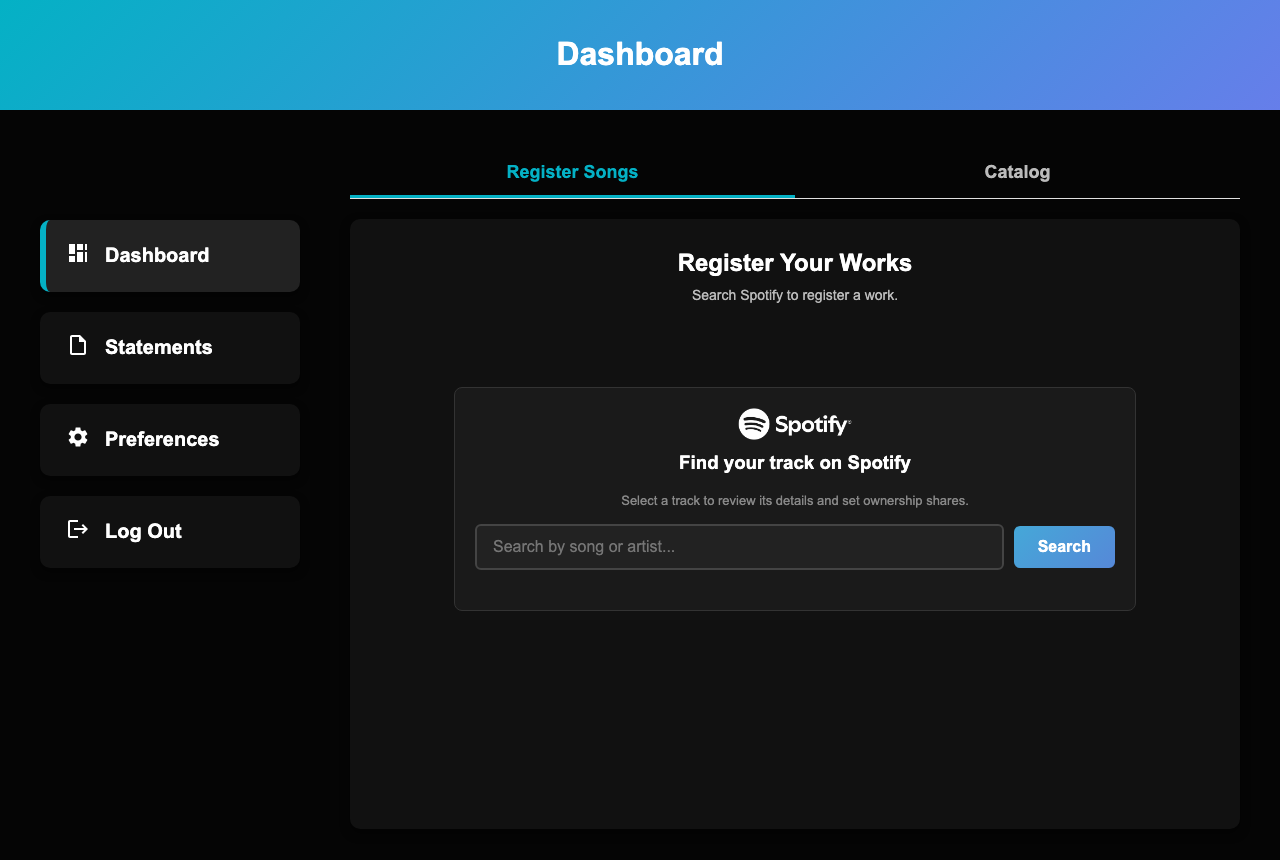
You’re in — next steps
After onboarding you’ll reach your dashboard. From there you can register
songs, manage your catalog, and set up payouts. Our team may still match
your writer profile behind the scenes — that’s normal.
Your dashboard is the home base for registering works and tracking royalties.